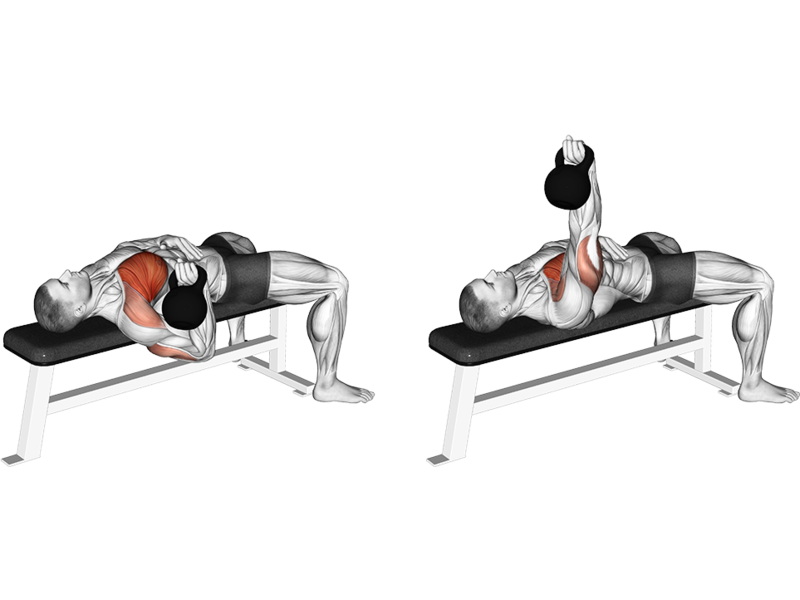
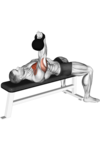
How to perform Kettlebell Bench Press with proper form
Equipment Needed
- A pair of kettlebells
- A flat bench
Setup
- Positioning: Lie back on the bench with your head, shoulders, and hips in contact with it.
- Kettlebell Placement: Hold a kettlebell in each hand, resting them at shoulder height near your chest.
Execution
- Starting Position: Keep your wrists straight, elbows tucked close to your body, and feet flat on the floor for stability.
- Pressing: Push the kettlebells upward by extending your arms straight up over your chest. Maintain control of the weights throughout the movement.
- Top Position: At the top, your arms should be fully extended, and kettlebells positioned directly above your shoulders. Avoid locking your elbows.
- Lowering: Slowly lower the kettlebells back to the starting position at shoulder height, keeping your elbows close to your sides.
Tips for Proper Form
- Engage Core: Keep your core tight to support your back and maintain stability.
- Neutral Grip: Use a neutral (palms facing each other) grip for better wrist alignment.
- Breathing: Exhale while pressing the kettlebells up, inhale while lowering them.
- Control: Perform the movement slowly to engage muscles effectively and prevent injury.
Common Mistakes
- Flared Elbows: Avoid letting your elbows drift away from your body.
- Arching Back: Keep your lower back in contact with the bench to prevent strain.
- Uneven Press: Ensure both kettlebells move in unison to prevent imbalance.
Conclusion
Perform the kettlebell bench press with focus on control and form to maximize effectiveness and minimize the risk of injury.
Exercises
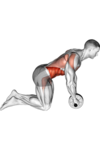
Ab Wheel, Bodyweight
Type: Core
Target: Abs
Synergist: Hamstrings, Quadriceps, Shoulders, Back, Chest, Glutes

Arnold Press, Dumbbell
Type: Upper, Push
Target: Shoulders
Synergist: Chest, Back, Triceps
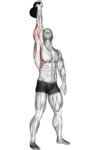
Arnold Press, Kettlebell
Type: Upper, Push
Target: Shoulders
Synergist: Chest, Back, Triceps
Around The World, Dumbbell
Type: Core
Target: Shoulders, Chest
Synergist: Back

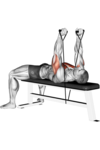
Back Extension, Bodyweight
Type: Lower, Core
Target: Back
Synergist: Hamstrings, Glutes
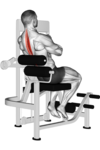
Back Extension, Leverage Machine
Type: Lower, Core
Target: Back
Synergist: Hamstrings, Glutes
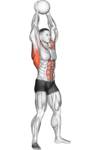
Ball Slams, Medicine Ball
Type: Core, Upper
Target: Shoulders, Back
Synergist: Chest, Abs

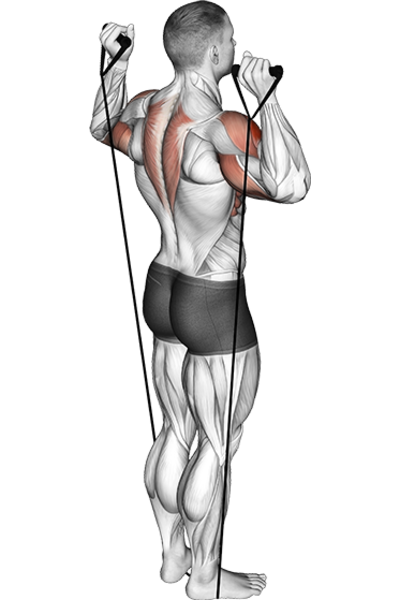
Battle Ropes, Bodyweight
Type: Upper, Core
Target: Shoulders
Synergist: Biceps, Forearms, Back

Behind The Neck Press, Barbell
Type: Upper, Push
Target: Shoulders
Synergist: Chest, Back, Triceps
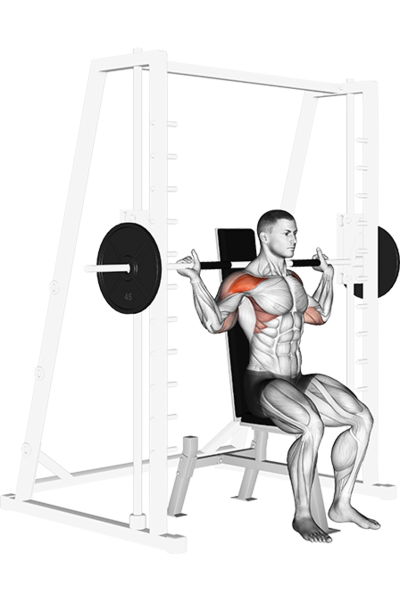
Behind The Neck Press, Smith Machine
Type: Upper, Push
Target: Shoulders
Synergist: Chest, Back, Triceps
Behind The Neck Press, Band
Type: Upper, Push
Target: Shoulders
Synergist: Chest, Back, Triceps
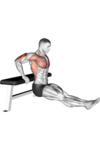
Bench Dip, Bodyweight
Type: Upper, Push
Target: Triceps
Synergist: Shoulders, Back, Chest

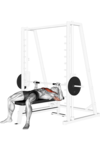
Bench Press, Barbell
Type: Upper, Push
Target: Chest
Synergist: Shoulders, Triceps
Bench Press, Cable
Type: Upper, Push
Target: Chest
Synergist: Shoulders, Triceps

Bench Press, Dumbbell
Type: Upper, Push
Target: Chest
Synergist: Shoulders, Triceps
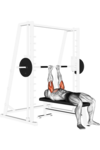
Bench Press, Smith Machine
Type: Upper, Push
Target: Chest
Synergist: Shoulders, Triceps
Bench Press, Band
Type: Upper, Push
Target: Chest
Synergist: Shoulders, Triceps
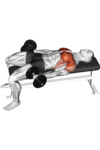
Bench Press, Kettlebell
Type: Upper, Push
Target: Chest
Synergist: Shoulders, Triceps

Bench Press Close Grip, Barbell
Type: Upper, Push
Target: Triceps
Synergist: Shoulders, Chest
Bench Press Close Grip, Smith Machine
Type: Upper, Push
Target: Triceps
Synergist: Shoulders, Chest