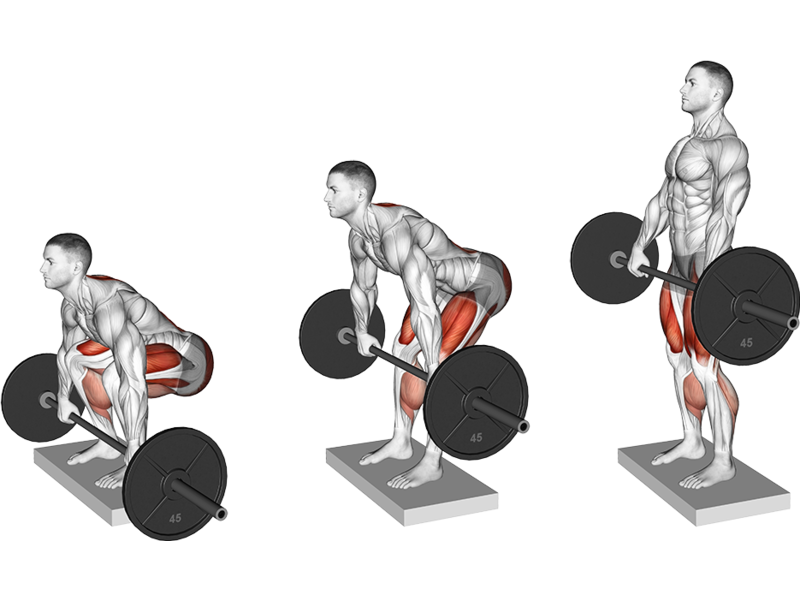
How to perform Barbell Deficit Deadlift with proper form
Setup
- Deficit: Stand on a platform (1-4 inches high) to increase the range of motion.
- Barbell Position: Place the barbell over your mid-foot.
- Foot Placement: Feet hip-width apart with toes slightly outward.
Grip
- Hand Position: Use a double overhand or mixed grip, just outside your knees.
- Wrist Position: Keep wrists straight and in line with your forearms.
Initiate Lift
- Hips and Chest: Drop your hips and lower your chest while maintaining a straight back.
- Engage Core: Brace your core to stabilize your spine.
Lift
- Drive Through Heels: Push through your heels, engaging your legs as you lift.
- Hips and Shoulders: Extend hips and shoulders simultaneously to keep the bar close to your body.
Lockout
- Stand Tall: Fully extend your hips and knees at the top.
- Shoulders Back: Pull your shoulders back without hyperextending your lower back.
Lowering the Bar
- Hip Hinge: Push your hips back while maintaining a straight back to lower the bar.
- Keep Bar Close: Ensure the bar stays close to your body throughout the descent.
Tips
- Neutral Spine: Maintain a neutral spine to avoid injury.
- Breath Control: Inhale before lowering the bar and exhale as you lift.
- Footwear: Use flat-soled shoes for stability.
Common Mistakes
- Rounding the Back: Avoid hunching your back during lift.
- Raising Hips Too Soon: Ensure hips and chest lift together.
- Lifting Too Quickly: Control the movement throughout the range.
Following these steps will help you perform the Barbell Deficit Deadlift with proper form and effectiveness.
Exercises

Bent Over One Arm Row, Dumbbell
Type: Upper, Pull
Target: Back
Synergist: Shoulders, Biceps, Forearms, Chest

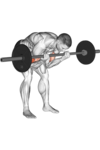
Bent Over Row, Barbell
Type: Upper, Pull
Target: Back
Synergist: Shoulders, Biceps, Forearms

Bent Over Row, Cable
Type: Upper, Pull
Target: Back
Synergist: Shoulders, Biceps, Forearms

Bent Over Row, Dumbbell
Type: Upper, Pull
Target: Back
Synergist: Shoulders, Biceps, Forearms
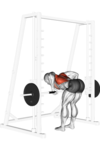
Bent Over Row, Smith Machine
Type: Upper, Pull
Target: Back
Synergist: Shoulders, Biceps, Forearms
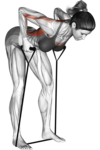
Bent Over Row, Band
Type: Upper, Pull
Target: Back
Synergist: Shoulders, Biceps, Forearms

Bent Over Row, Leverage Machine
Type: Upper, Pull
Target: Back
Synergist: Shoulders, Biceps, Forearms
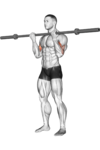
Bicep Curl, Barbell
Type: Upper, Pull
Target: Biceps
Synergist: Forearms
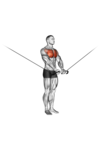
Bicep Curl, Cable
Type: Upper, Pull
Target: Biceps
Synergist: Forearms

Bicep Curl, Dumbbell
Type: Upper, Pull
Target: Biceps
Synergist: Forearms
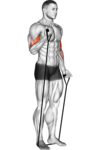
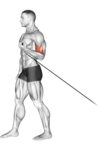
Bicep Curl, Band
Type: Upper, Pull
Target: Biceps
Synergist: Forearms
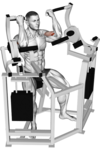
Bicep Curl, Leverage Machine
Type: Upper, Pull
Target: Biceps
Synergist: Forearms

Bicep Curl, EZ Bar
Type: Upper, Pull
Target: Biceps
Synergist: Forearms
Cable Crossover, Cable
Type: Upper, Pull
Target: Chest
Synergist: Shoulders
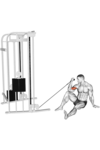
Cable Pull Through, Cable
Type: Lower, Pull
Target: Glutes
Synergist: Back, Hamstrings

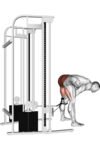
Chin Up, Bodyweight
Type: Upper, Pull
Target: Back
Synergist: Biceps, Forearms, Shoulders, Chest
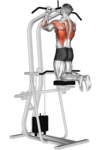
Chin Up, Leverage Machine
Type: Upper, Pull
Target: Back
Synergist: Biceps, Forearms, Shoulders, Chest
Concentration Curl, Barbell
Type: Upper, Pull
Target: Biceps
Synergist: Forearms
Concentration Curl, Cable
Type: Upper, Pull
Target: Biceps
Synergist: Forearms
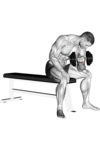
Concentration Curl, Dumbbell
Type: Upper, Pull
Target: Biceps
Synergist: Forearms