
How to perform Barbell Side Hip Abductor with proper form
Setup
- Equipment Needed: Barbell, weight plates, and a squat rack.
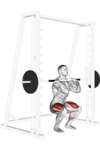
- Starting Position: Stand next to a squat rack. Position the barbell on one shoulder or use a landmine setup.
Execution
- Foot Placement: Stand with your feet shoulder-width apart. The side of the body doing the work will be positioned away from the barbell.
- Engage Core: Keep your core tight to stabilize your torso throughout the movement.
- Lift Leg: Slowly lift the leg opposite the barbell out to the side, maintaining a slight bend in your supporting knee.
- Range of Motion: Raise the leg until you feel a contraction in the hip, keeping the movement controlled.
- Return: Lower the leg back to the starting position without allowing the foot to touch the ground, ensuring continuous tension on the hip muscles.
Tips
- Knee Position: Ensure your knee is not locked during the movement.
- Back Position: Keep your back straight and avoid leaning excessively to one side.
- Breath Control: Inhale while lowering and exhale while lifting your leg.
Common Mistakes
- Leaning too far to the side.
- Lifting the leg too high, which can compromise form.
- Not engaging the core properly, leading to unstable movement.
Safety
- Start with lighter weights to avoid strain.
- Ensure the barbell is securely placed to prevent accidents.
By following this guide, you can effectively perform the Barbell Side Hip Abductor with proper form to strengthen your hip abductors.
Exercises

Box Squat, Barbell
Type: Lower, Legs
Target: Glutes, Quadriceps
Synergist: Hamstrings, Calves

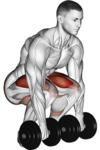
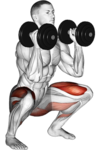
Box Squat, Dumbbell
Type: Lower, Legs
Target: Glutes, Quadriceps
Synergist: Hamstrings, Calves

Bulgarian Split Squat, Dumbbell
Type: Lower, Legs
Target: Glutes, Quadriceps
Synergist: Hamstrings, Calves
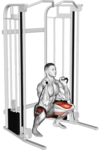
Cable Pull Through, Cable
Type: Lower, Pull
Target: Glutes
Synergist: Back, Hamstrings
Clean, Barbell
Type: Upper, Lower, Push
Target: Glutes, Hamstrings, Quadriceps, Back, Shoulders
Synergist: Calves, Biceps, Chest, Forearms
Clean and Jerk, Barbell
Type: Upper, Lower, Push
Target: Glutes, Hamstrings, Quadriceps, Back, Shoulders
Synergist: Calves, Biceps, Chest, Forearms

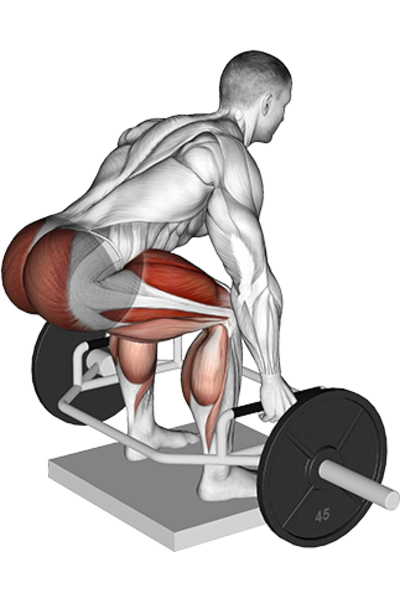
Deadlift, Barbell
Type: Lower, Pull
Target: Glutes, Back, Hamstrings
Synergist: Quadriceps, Calves, Abs, Forearms
Deadlift, Cable
Type: Lower, Pull
Target: Glutes, Back, Hamstrings
Synergist: Quadriceps, Calves, Abs, Forearms
Deadlift, Dumbbell
Type: Lower, Pull
Target: Glutes, Back, Hamstrings
Synergist: Quadriceps, Calves, Abs, Forearms
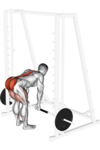
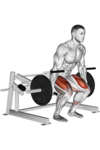
Deadlift, Smith Machine
Type: Lower, Pull
Target: Glutes, Back, Hamstrings
Synergist: Quadriceps, Calves, Abs, Forearms
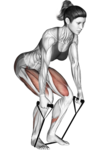
Deadlift, Band
Type: Lower, Pull
Target: Glutes, Back, Hamstrings
Synergist: Quadriceps, Calves, Abs, Forearms

Deadlift, Kettlebell
Type: Lower, Pull
Target: Glutes, Back, Hamstrings
Synergist: Quadriceps, Calves, Abs, Forearms
Deadlift, Leverage Machine
Type: Lower, Pull
Target: Glutes, Back, Hamstrings
Synergist: Quadriceps, Calves, Abs, Forearms
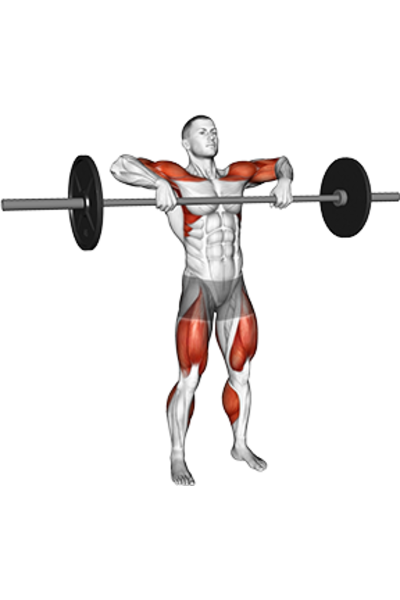
Deadlift High Pull, Barbell
Type: Upper, Lower, Pull
Target: Shoulders, Glutes, Quadriceps
Synergist: Hamstrings, Biceps, Forearms, Calves, Back

Deficit Deadlift, Barbell
Type: Lower, Pull
Target: Glutes
Synergist: Hamstrings, Back, Quadriceps, Calves
Deficit Deadlift, Trap Bar
Type: Lower, Pull
Target: Glutes
Synergist: Hamstrings, Back, Quadriceps, Calves

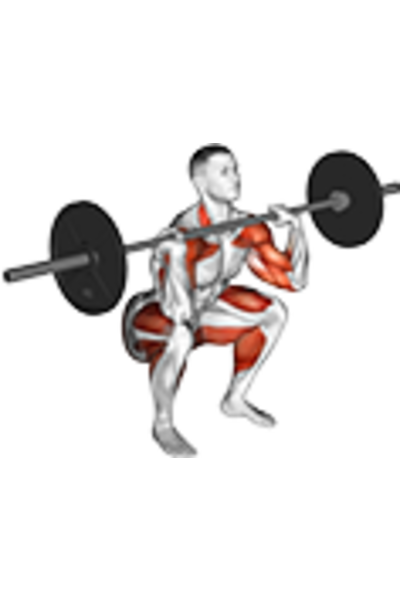
Front Squat, Barbell
Type: Lower, Legs
Target: Glutes, Quadriceps
Synergist: Hamstrings, Calves
Front Squat, Cable
Type: Lower, Legs
Target: Glutes, Quadriceps
Synergist: Hamstrings, Calves
Front Squat, Dumbbell
Type: Lower, Legs
Target: Glutes, Quadriceps
Synergist: Hamstrings, Calves
Front Squat, Smith Machine
Type: Lower, Legs
Target: Glutes, Quadriceps
Synergist: Hamstrings, Calves