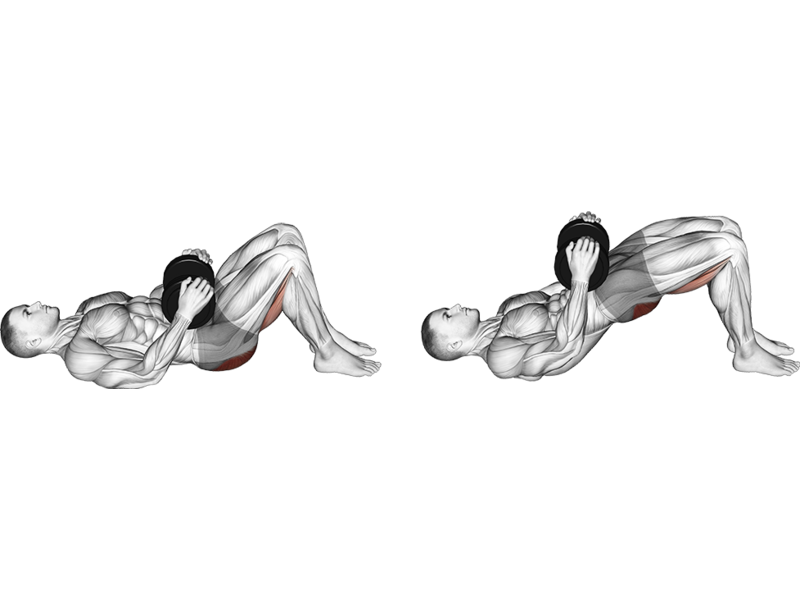
How to perform Dumbbell Glute Bridge with proper form
Starting Position
- Lie on Your Back: Lay flat on your back on a mat, knees bent, feet flat on the ground about hip-width apart.
- Feet Placement: Position your feet closer to your glutes for better activation.
- Dumbbell Position: Hold a dumbbell with both hands over your hips. Secure it with your thumbs under the handle.
Movement
- Engage Your Core: Tighten your abdominal muscles to stabilize your spine.
- Lift Your Hips: Press through your heels and lift your hips towards the ceiling, squeezing your glutes at the top.
- Avoid Overextending: Ensure your body forms a straight line from your shoulders to your knees at the peak of the lift.
Lowering Phase
- Control Descent: Slowly lower your hips back to the mat, maintaining control and tension in your glutes.
- Repeat: Repeat the movement for the duration of your workout.
Key Tips
- Breathing: Inhale as you lower your hips, exhale as you lift.
- Alignment: Keep your knees in line with your toes throughout the movement.
- Pelvic Tilt: Perform a slight pelvic tilt before lifting to enhance glute engagement.
Common Mistakes
- Arching the Back: Avoid excessive arching; maintain a neutral spine.
- Raising the Shoulders: Keep shoulders grounded on the mat.
- Using Too Heavy a Dumbbell: Start with a manageable weight to focus on form.
Following this guide will help you perform the Dumbbell Glute Bridge effectively and safely.
Exercises

Back Extension, Bodyweight
Type: Lower, Core
Target: Back
Synergist: Glutes, Hamstrings
Back Extension, Leverage Machine
Type: Lower, Core
Target: Back
Synergist: Glutes, Hamstrings

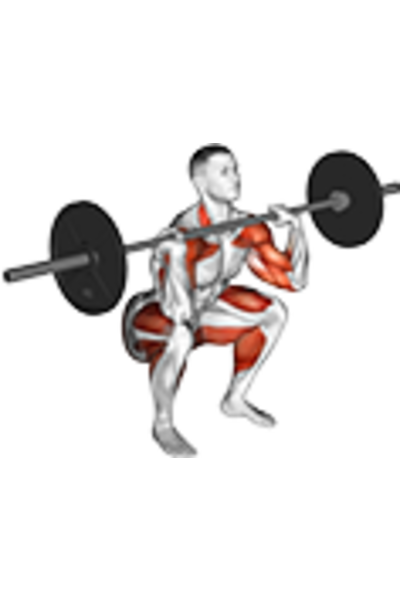
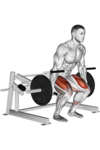
Box Squat, Barbell
Type: Lower, Legs
Target: Glutes, Quadriceps
Synergist: Hamstrings, Calves

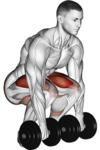
Box Squat, Dumbbell
Type: Lower, Legs
Target: Glutes, Quadriceps
Synergist: Hamstrings, Calves

Bulgarian Split Squat, Dumbbell
Type: Lower, Legs
Target: Glutes, Quadriceps
Synergist: Hamstrings, Calves
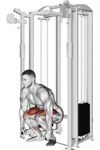
Cable Pull Through, Cable
Type: Lower, Pull
Target: Glutes
Synergist: Back, Hamstrings
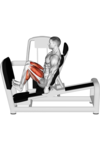
Calf Press on Leg Press, Leverage Machine
Type: Lower, Legs
Target: Calves
Calf Press on Seated Leg Press, Leverage Machine
Type: Lower, Legs
Target: Calves, Quadriceps
Synergist: Glutes, Hamstrings
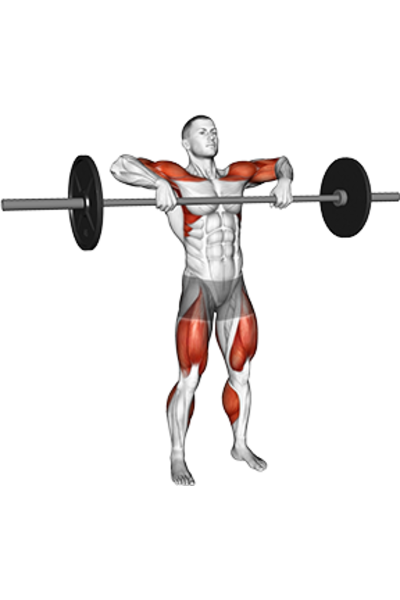
Clean, Barbell
Type: Upper, Lower, Push
Target: Glutes, Hamstrings, Quadriceps, Back, Shoulders
Synergist: Calves, Biceps, Chest, Forearms
Clean and Jerk, Barbell
Type: Upper, Lower, Push
Target: Glutes, Hamstrings, Quadriceps, Back, Shoulders
Synergist: Calves, Biceps, Chest, Forearms

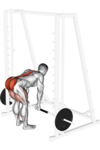
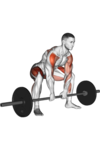
Deadlift, Barbell
Type: Lower, Pull
Target: Glutes, Back, Hamstrings
Synergist: Quadriceps, Calves, Abs, Forearms
Deadlift, Cable
Type: Lower, Pull
Target: Glutes, Back, Hamstrings
Synergist: Quadriceps, Calves, Abs, Forearms
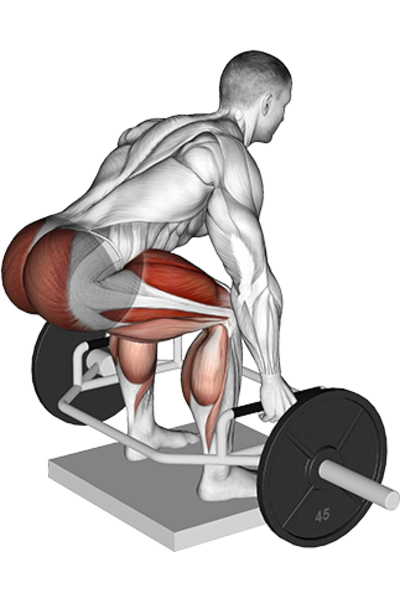
Deadlift, Dumbbell
Type: Lower, Pull
Target: Glutes, Back, Hamstrings
Synergist: Quadriceps, Calves, Abs, Forearms
Deadlift, Smith Machine
Type: Lower, Pull
Target: Glutes, Back, Hamstrings
Synergist: Quadriceps, Calves, Abs, Forearms
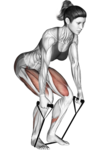
Deadlift, Band
Type: Lower, Pull
Target: Glutes, Back, Hamstrings
Synergist: Quadriceps, Calves, Abs, Forearms

Deadlift, Kettlebell
Type: Lower, Pull
Target: Glutes, Back, Hamstrings
Synergist: Quadriceps, Calves, Abs, Forearms
Deadlift, Leverage Machine
Type: Lower, Pull
Target: Glutes, Back, Hamstrings
Synergist: Quadriceps, Calves, Abs, Forearms
Deadlift High Pull, Barbell
Type: Upper, Lower, Pull
Target: Shoulders, Glutes, Quadriceps
Synergist: Hamstrings, Biceps, Forearms, Calves, Back

Deficit Deadlift, Barbell
Type: Lower, Pull
Target: Glutes
Synergist: Hamstrings, Back, Quadriceps, Calves
Deficit Deadlift, Trap Bar
Type: Lower, Pull
Target: Glutes
Synergist: Hamstrings, Back, Quadriceps, Calves