
How to perform Bodyweight Glute Bridge March with proper form
Starting Position:
- Lie on your back on a mat or flat surface.
- Bend your knees, placing your feet flat on the ground, hip-width apart.
- Arms rest at your sides or can be placed on your lower abdomen for added engagement.
Execution:
- Lift your hips off the ground into a bridge position by pressing your heels into the floor.
- Engage your glutes and core to maintain stability.
- From the bridge position, lift your right leg off the ground, bringing your knee toward your chest without dropping your hips.
- Lower the right leg back down to the starting position while maintaining the bridge.
- Repeat with the left leg, lifting it towards your chest and lowering back down.
- Continue alternating legs in a controlled manner, ensuring your hips remain lifted and stable throughout.
Tips for Proper Form:
- Keep your shoulders relaxed and pressed into the ground.
- Avoid arching your back; keep a neutral spine throughout the movement.
- Focus on squeezing your glutes as you lift and lower each leg.
- Move slowly to maintain balance and engage the correct muscles.
Common Mistakes:
- Letting the hips sag; ensure they stay elevated.
- Moving too quickly, which reduces the effectiveness.
- Overarching the lower back; maintain a neutral spine.
By following these guidelines, you can perform the Bodyweight Glute Bridge March effectively and safely.
Exercises

Back Extension, Bodyweight
Type: Lower, Core
Target: Back
Synergist: Glutes, Hamstrings
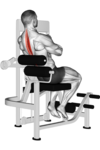
Back Extension, Leverage Machine
Type: Lower, Core
Target: Back
Synergist: Glutes, Hamstrings

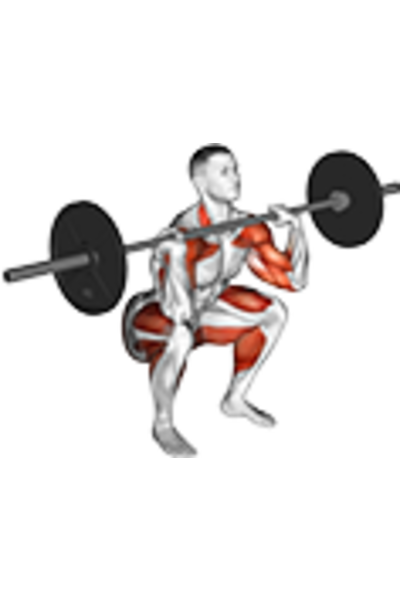
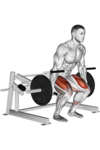
Box Squat, Barbell
Type: Lower, Legs
Target: Glutes, Quadriceps
Synergist: Hamstrings, Calves

Box Squat, Dumbbell
Type: Lower, Legs
Target: Glutes, Quadriceps
Synergist: Hamstrings, Calves

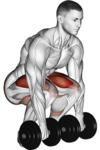
Bulgarian Split Squat, Dumbbell
Type: Lower, Legs
Target: Glutes, Quadriceps
Synergist: Hamstrings, Calves
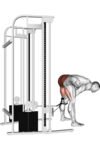
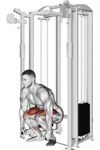
Cable Pull Through, Cable
Type: Lower, Pull
Target: Glutes
Synergist: Back, Hamstrings
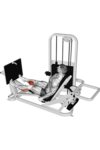
Calf Press on Leg Press, Leverage Machine
Type: Lower, Legs
Target: Calves
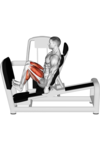
Calf Press on Seated Leg Press, Leverage Machine
Type: Lower, Legs
Target: Calves, Quadriceps
Synergist: Glutes, Hamstrings
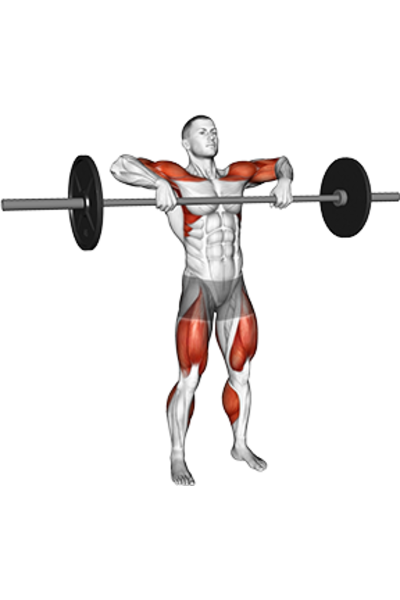
Clean, Barbell
Type: Upper, Lower, Push
Target: Glutes, Hamstrings, Quadriceps, Back, Shoulders
Synergist: Calves, Biceps, Chest, Forearms
Clean and Jerk, Barbell
Type: Upper, Lower, Push
Target: Glutes, Hamstrings, Quadriceps, Back, Shoulders
Synergist: Calves, Biceps, Chest, Forearms

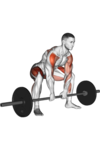
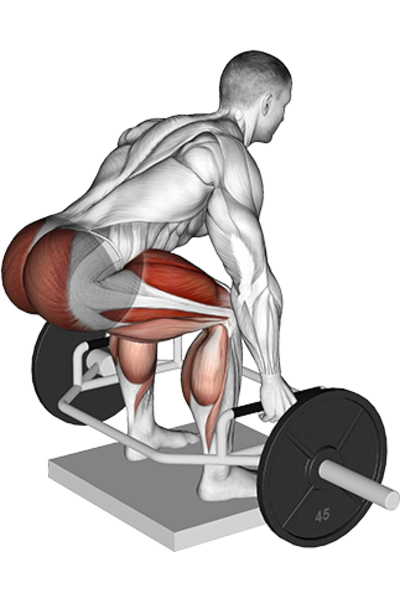
Deadlift, Barbell
Type: Lower, Pull
Target: Glutes, Back, Hamstrings
Synergist: Quadriceps, Calves, Abs, Forearms
Deadlift, Cable
Type: Lower, Pull
Target: Glutes, Back, Hamstrings
Synergist: Quadriceps, Calves, Abs, Forearms
Deadlift, Dumbbell
Type: Lower, Pull
Target: Glutes, Back, Hamstrings
Synergist: Quadriceps, Calves, Abs, Forearms
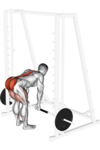
Deadlift, Smith Machine
Type: Lower, Pull
Target: Glutes, Back, Hamstrings
Synergist: Quadriceps, Calves, Abs, Forearms
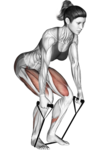
Deadlift, Band
Type: Lower, Pull
Target: Glutes, Back, Hamstrings
Synergist: Quadriceps, Calves, Abs, Forearms

Deadlift, Kettlebell
Type: Lower, Pull
Target: Glutes, Back, Hamstrings
Synergist: Quadriceps, Calves, Abs, Forearms
Deadlift, Leverage Machine
Type: Lower, Pull
Target: Glutes, Back, Hamstrings
Synergist: Quadriceps, Calves, Abs, Forearms
Deadlift High Pull, Barbell
Type: Upper, Lower, Pull
Target: Shoulders, Glutes, Quadriceps
Synergist: Hamstrings, Biceps, Forearms, Calves, Back

Deficit Deadlift, Barbell
Type: Lower, Pull
Target: Glutes
Synergist: Hamstrings, Back, Quadriceps, Calves
Deficit Deadlift, Trap Bar
Type: Lower, Pull
Target: Glutes
Synergist: Hamstrings, Back, Quadriceps, Calves