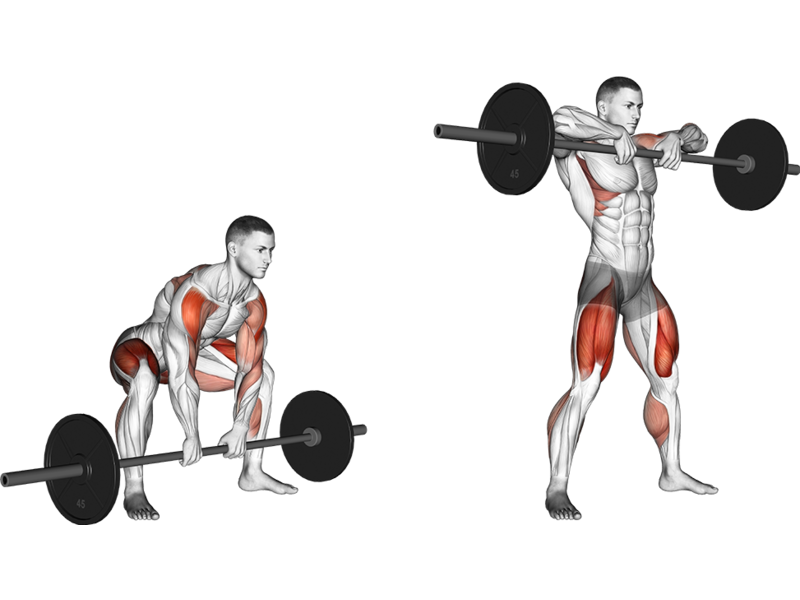
How to perform Barbell Deadlift High Pull with proper form
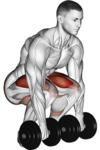
Starting Position
- Feet Placement: Stand with your feet hip-width apart, toes slightly pointed outward.
- Bar Position: Place the barbell over the middle of your feet, close enough to touch your shins.
- Grip: Bend at your hips and knees to grip the barbell with both hands, slightly wider than shoulder-width apart. Use an overhand grip (palms facing you) or a mixed grip (one palm facing you, one away).
Execution
- Set Your Back: Keep your chest up, back straight, and shoulders just in front of the bar. Engage your core.
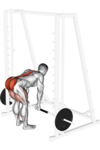
- Lift: Push through your heels to lift the barbell off the ground, extending your hips and knees simultaneously. The bar should travel vertically along your legs.
- Explosion Phase: Once the bar passes your knees, explosively extend your hips and pull the barbell up towards your chin. This should involve shrugging your shoulders and bending your elbows out to the sides.
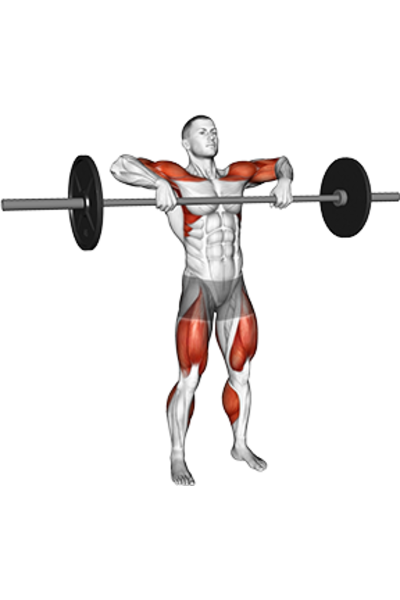
- Finish Position: The barbell should end at chin height, with your elbows higher than your wrists, and your body in a straight line from head to heels.
Descent
- Lower the Bar: Reverse the motion by bringing your elbows down, lowering the bar back down to your thighs, and then to the ground.
- Maintain Control: Keep your back straight and engage your core throughout the descent.
Tips
- Keep the barbell close to your body throughout the entire movement.
- Avoid rounding your back at any point; maintain a neutral spine.
- Focus on using your legs and hips to generate power during the lift.
Common Mistakes
- Letting the bar drift away from the body.
- Lack of explosive force when pulling the bar.
- Rounding the back instead of keeping it flat.
By adhering to these guidelines, you can safely and effectively perform the Barbell Deadlift High Pull to strengthen your posterior chain and improve your explosive power.
Exercises
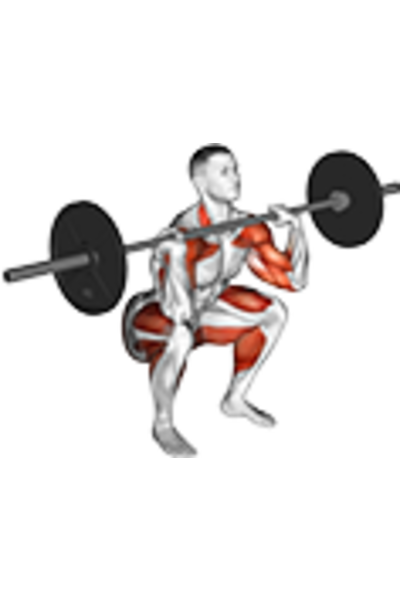
Clean, Barbell
Type: Upper, Lower, Push
Target: Glutes, Hamstrings, Quadriceps, Back, Shoulders
Synergist: Calves, Biceps, Chest, Forearms
Clean and Jerk, Barbell
Type: Upper, Lower, Push
Target: Glutes, Hamstrings, Quadriceps, Back, Shoulders
Synergist: Calves, Biceps, Chest, Forearms

Deadlift, Barbell
Type: Lower, Pull
Target: Glutes, Back, Hamstrings
Synergist: Quadriceps, Calves, Abs, Forearms
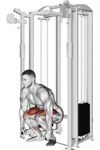
Deadlift, Cable
Type: Lower, Pull
Target: Glutes, Back, Hamstrings
Synergist: Quadriceps, Calves, Abs, Forearms
Deadlift, Dumbbell
Type: Lower, Pull
Target: Glutes, Back, Hamstrings
Synergist: Quadriceps, Calves, Abs, Forearms
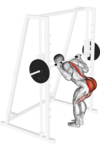
Deadlift, Smith Machine
Type: Lower, Pull
Target: Glutes, Back, Hamstrings
Synergist: Quadriceps, Calves, Abs, Forearms
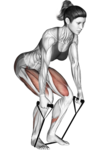
Deadlift, Band
Type: Lower, Pull
Target: Glutes, Back, Hamstrings
Synergist: Quadriceps, Calves, Abs, Forearms

Deadlift, Kettlebell
Type: Lower, Pull
Target: Glutes, Back, Hamstrings
Synergist: Quadriceps, Calves, Abs, Forearms
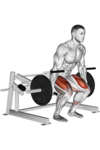
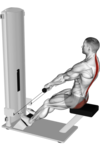
Deadlift, Leverage Machine
Type: Lower, Pull
Target: Glutes, Back, Hamstrings
Synergist: Quadriceps, Calves, Abs, Forearms

Good Morning, Barbell
Type: Lower, Legs
Target: Hamstrings
Synergist: Glutes
Good Morning, Smith Machine
Type: Lower, Legs
Target: Hamstrings
Synergist: Glutes
Good Morning, Leverage Machine
Type: Lower, Legs
Target: Hamstrings
Synergist: Glutes
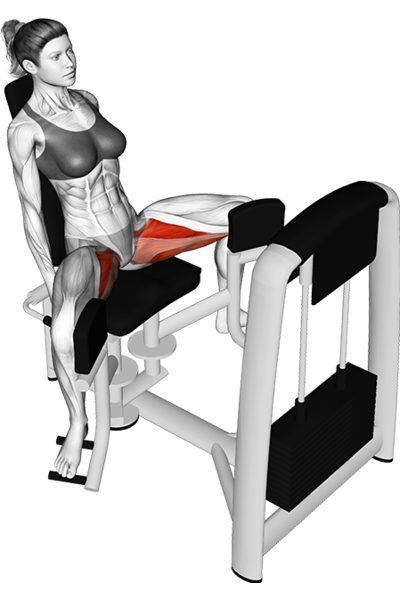
Hip Adductor, Leverage Machine
Type: Lower, Legs
Target: Hamstrings, Glutes
Synergist: Quadriceps
Lying Leg Curl, Band
Type: Lower, Legs
Target: Hamstrings
Synergist: Calves
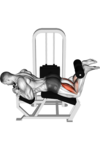
Lying Leg Curl, Leverage Machine
Type: Lower, Legs
Target: Hamstrings
Synergist: Calves
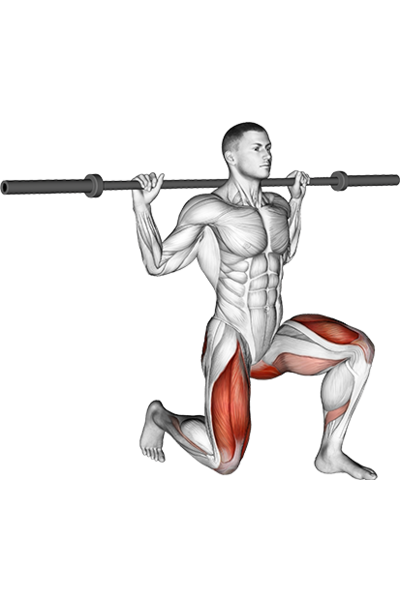
Reverse Lunge, Barbell
Type: Lower, Legs
Target: Glutes, Hamstrings
Synergist: Calves
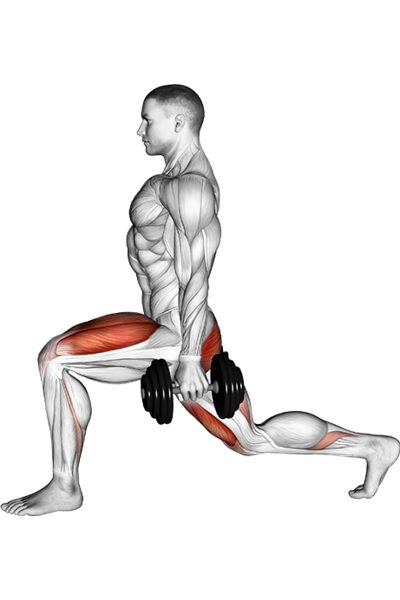
Reverse Lunge, Dumbbell
Type: Lower, Legs
Target: Glutes, Hamstrings
Synergist: Calves
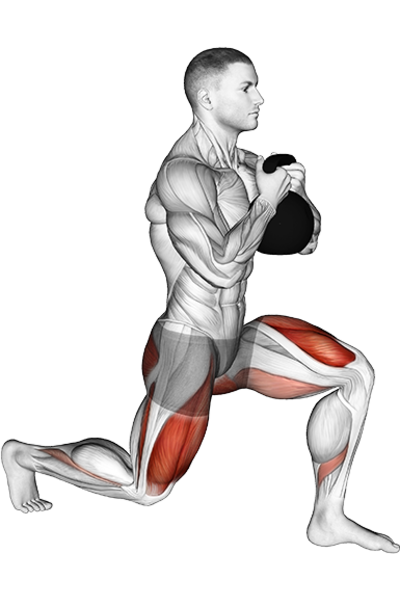
Reverse Lunge, Kettlebell
Type: Lower, Legs
Target: Glutes, Hamstrings
Synergist: Calves
Reverse Lunge, Bodyweight
Type: Lower, Legs
Target: Glutes, Hamstrings
Synergist: Calves

Romanian Deadlift, Barbell
Type: Lower, Legs
Target: Back, Glutes, Hamstrings
Synergist: Abs, Calves